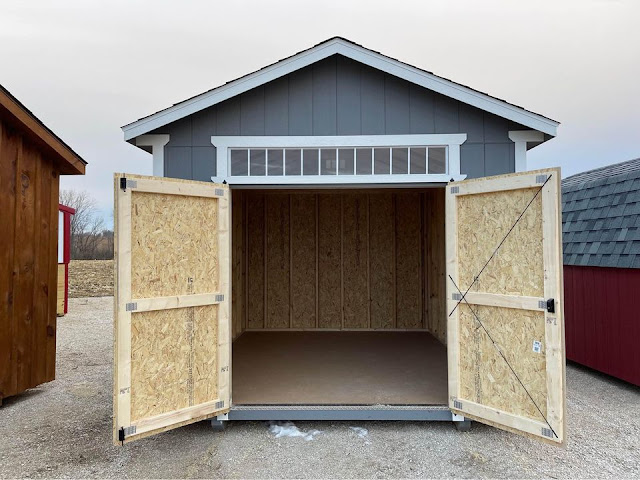
Building a 10x12 Lean-to Shed: Plans and Instructions

Are you in need of some extra storage space in your backyard? A 10x12 lean-to shed might just be the perfect solution for you. Not only is it a great way to declutter your outdoor living space, but it is also a fun and rewarding DIY project that you can complete over a weekend or two. In this article, we will provide you with step-by-step instructions on how to build a 10x12 lean-to shed, as well as a list of materials and tools that you will need.
Benefits of a 10x12 Lean-to Shed
There are many benefits to building a 10x12 lean-to shed in your backyard. Here are just a few:
- Provides additional storage space for tools, equipment, and outdoor gear.
- Helps to declutter your outdoor living space and keep your yard looking neat and tidy.
- Can be used as a workshop or hobby space.
- Can be customized to match the style of your home and outdoor living space.
- Increases the value of your property.
10x12 Lean-to Shed Plans
Before you start building your shed, you will need to have a solid set of plans to follow. Here are the basic steps:
- Determine the size and location of your shed.
- Choose your design and style.
- Gather your materials and tools.
- Prepare the site and build the foundation.
- Construct the frame and walls.
- Add the roof and siding.
- Install the doors and windows.
- Finish with any additional features or accessories.
For more detailed plans and instructions, you can find a variety of resources online, including websites, books, and DIY tutorials. Look for plans that are specific to a 10x12 lean-to shed and that provide a list of materials, tools, and step-by-step instructions.
Materials and Tools
Here is a list of materials and tools that you will need to build a 10x12 lean-to shed:
- Lumber for framing, siding, and roofing
- Roofing materials (shingles or metal)
- Siding materials (wood, vinyl, or metal)
- Doors and windows
- Nails, screws
- Hammer
- Screwdriver
- Power drill
- Saw (circular, jigsaw, or handsaw)
- Level
- Tape measure
- Chalk line
- Safety glasses and gloves
Tools:
Make sure to have all the necessary tools and materials before starting the project to ensure a smooth and efficient construction process.
Construction Process
Once you have your plans, materials, and tools, it's time to start building your 10x12 lean-to shed. Here is a general overview of the construction process:
- Prepare the site and build the foundation. Clear the area of any debris or obstacles and level the ground. Construct a solid foundation, such as a concrete slab or a wooden platform, that is level and stable.
- Construct the frame and walls. Build the frame for the shed using lumber and secure it to the foundation. Add the walls using the same lumber and nail or screw them into place.
- Add the roof and siding. Install the roofing materials, such as shingles or metal sheets, and attach them to the frame. Add the siding, such as wood or vinyl, to the exterior walls.
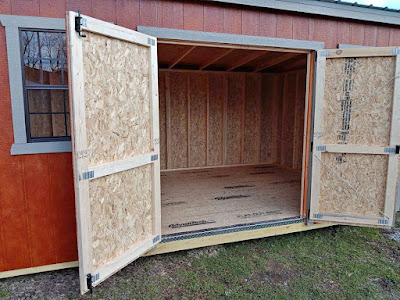
- Install the doors and windows. Cut out openings for the doors and windows and install them securely into place.
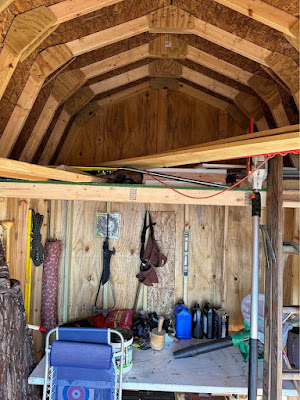
- Finish with any additional features or accessories. Add any finishing touches, such as paint or trim, and install any additional features or accessories, such as shelves or hooks.
Make sure to follow the plans and instructions carefully and take necessary safety precautions, such as wearing safety glasses and gloves, throughout the construction process.
Conclusion
Building a 10x12 lean-to shed is a great DIY project that can provide you with additional storage space and enhance the look and value of your property. With the right plans, materials, and tools, you can complete this project in a weekend or two and enjoy the benefits for years to come.
Comments
Post a Comment