Saltbox Shed Plans 12x16 - Your Ultimate Guide to Building a Saltbox Shed

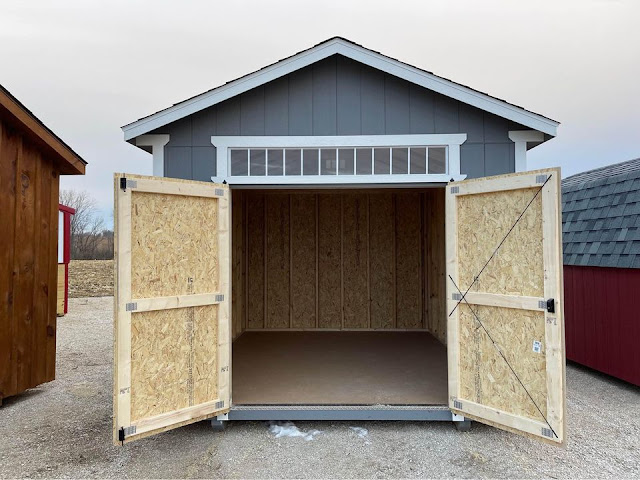
Building a saltbox shed is a great way to add storage space to your property while also enhancing its aesthetic appeal. The saltbox design features a sloping roof that provides extra headroom on one side of the shed, making it a versatile and practical storage solution.
If you're interested in building a saltbox shed, this guide will provide you with all the information you need to get started. From materials and tools to a step-by-step guide, you'll have everything you need to build the perfect saltbox shed for your property.
Materials You'll Need
Before you get started, you'll need to gather the following materials:
- 4x4 pressure-treated skids
- 2x4 floor joists
- 3/4 inch plywood flooring
- 2x4 wall studs
- 1/2 inch plywood sheathing
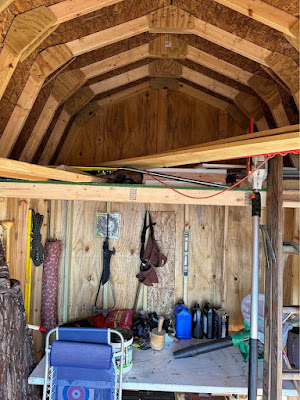
- Roof trusses or 2x6 rafters
- 1/2 inch plywood roof sheathing
- Roofing material of your choice
- Doors and windows of your choice
- Nails, screws, and other hardware
- Concrete blocks or pavers for foundation
Tools You'll Need
In addition to the materials, you'll also need the following tools:
- Tape measure
- Circular saw
- Power drill
- Hammer
- Level
- Square
- Utility knife
- Safety glasses
- Gloves
Step-by-Step Guide to Building a Saltbox Shed
Follow these step-by-step instructions to build your own saltbox shed:
- Prepare the foundation: Use concrete blocks or pavers to create a level foundation for your shed.
- Build the floor: Attach the 2x4 floor joists to the skids and then attach the 3/4 inch plywood flooring to the joists.
- Build the walls: Build the walls using the 2x4 wallstuds and 1/2 inch plywood sheathing. Cut out openings for doors and windows as desired.
- Attach the walls to the floor: Stand up the walls and attach them to the floor using nails or screws.
- Install the roof trusses or rafters: Install the roof trusses or 2x6 rafters according to the manufacturer's instructions. Make sure they are evenly spaced and properly secured.
- Install the roof sheathing: Attach the 1/2 inch plywood roof sheathing to the trusses or rafters.
- Install the roofing material: Install the roofing material of your choice, such as shingles or metal roofing.
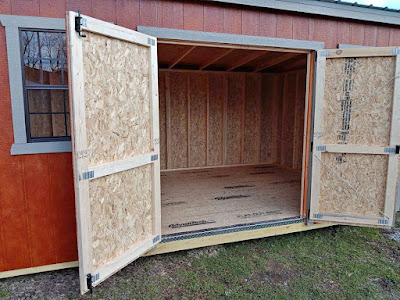
- Install the doors and windows: Install the doors and windows of your choice in the openings you cut out earlier.
- Add finishing touches: Add any finishing touches you desire, such as paint or trim.
It's important to follow these steps carefully to ensure that your saltbox shed is sturdy and functional. Make sure to use the right materials and tools, and follow all safety guidelines when using power tools.
With these plans and instructions, you should have everything you need to build your own saltbox shed. Enjoy your new storage space!
Comments
Post a Comment